

Friday, April 12, 2013

Home-made Ginger Garlic Paste


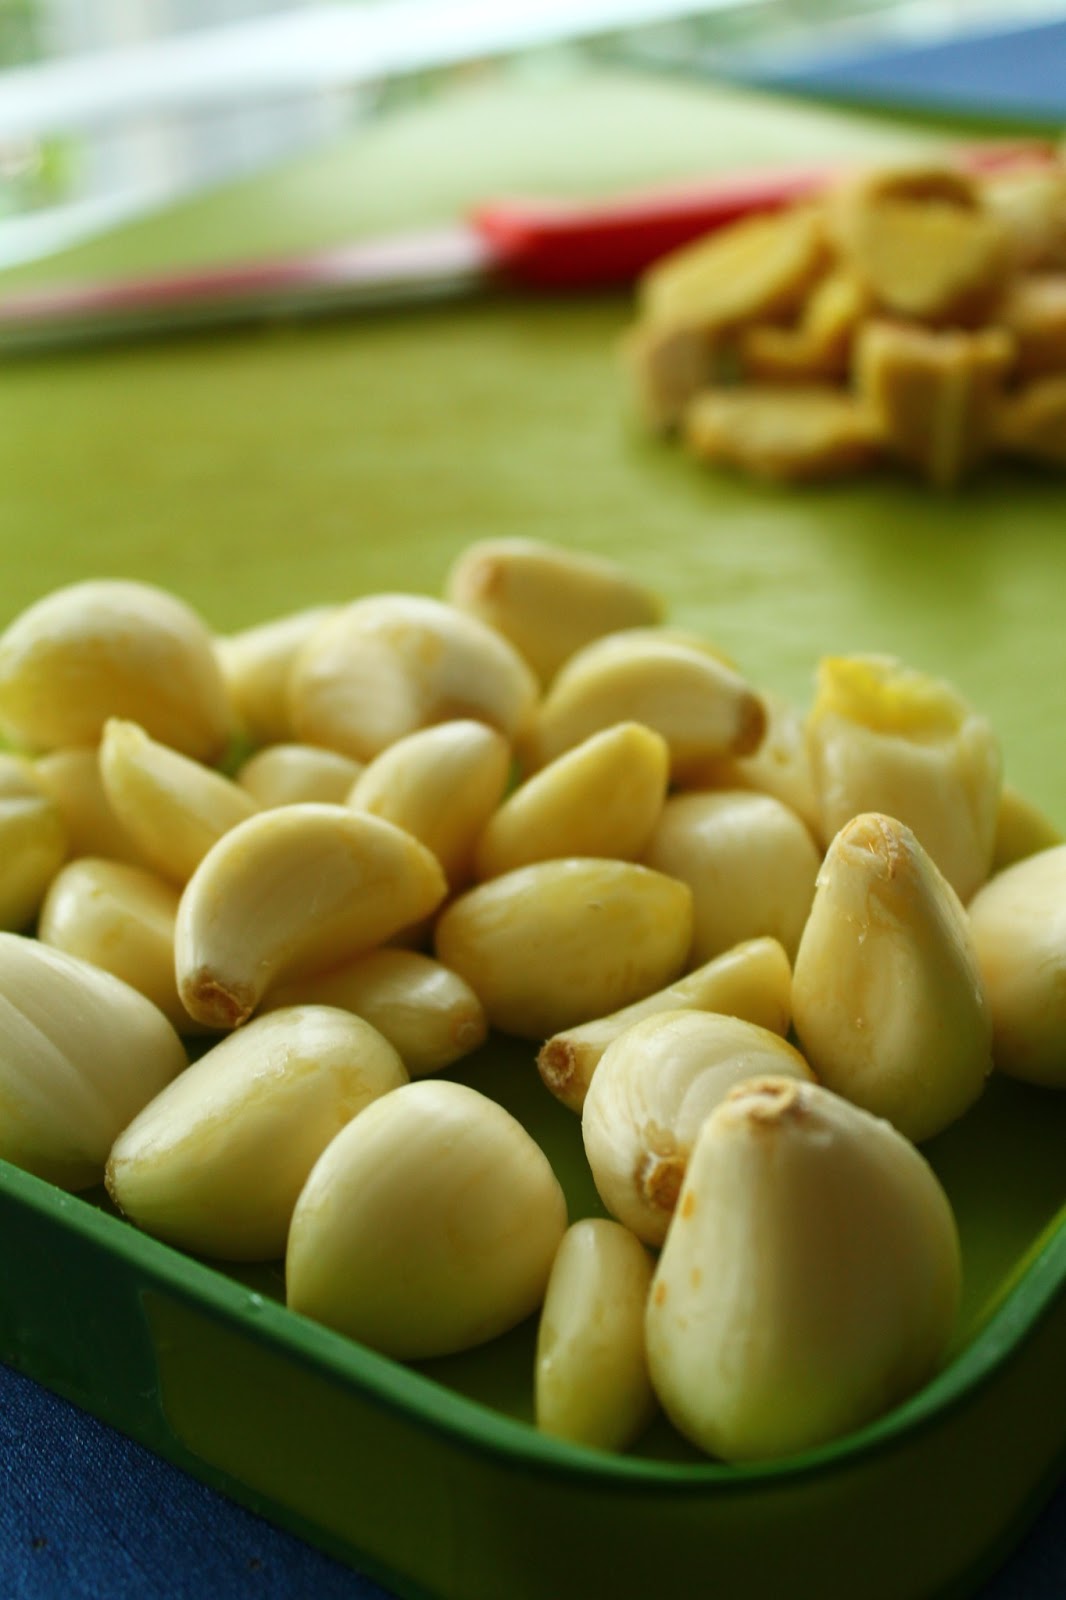
Coming to think of it, I have never made ginger-garlic paste at home, 5 years of cooking and I have always bought the ready-made paste :|. I did a recent survey of my pantry and realized I don't use a lot of ready-made products :), one of the few things I have gotten used to are the ginger-garlic paste and I wanted to cut it out. Another significant advantage is the super flavor and smell it adds to the dishes as there is a huge difference between the store bought paste and the home-made one. I have decided that I am never going back to buying the paste from stores after making this last month. You could make it in bulk, refrigerate it and this would keep well for a month. If you haven't thought about making your own paste, go ahead and try it and I am sure you would not go back to buying the ready-made version :).

Ingredients

Makes about 1 cup
Prep Time - 20 min

Garlic - 1 cup, peeled and washed, chopped roughly
Ginger - 1 cup, peeled and washed, chopped roughly
Turmeric - 1 Tsp
Oil - 1 Tbsp

How do you do it

1. Add ginger, garlic pieces, turmeric in your mixer grinder and grind. Add the 1 tbsp oil in shots so the mixer can grind easily. Do not add water - this will spoil the fridge-life of the ginger garlic paste. Grind until you get a paste consistency, transfer it to a dry bottle and refrigerate.

2. Always use a dry spoon when you need the paste, so that it doesn't go bad. Turmeric and oil are preservatives here. This quantity lasts for about a month in my kitchen and then I make another batch for the next month.  You could vary the quantities based on your needs.

Continue Reading >>

Tuesday, April 9, 2013

Paneer Tikka Masala


Paneer dishes are almost always a super-hit at home and an even bigger hit during parties and so I like having a collection of different kinds of paneer recipes. Paneer tikka masala happened on the day I made Broccoli Paratha and Paneer Tikka which I used later to dunk into the curry. That day was a happy Saturday, I had tried three new recipes and all of them turned out great and I was really pleased with myself. Paneer Tikka curry takes a little bit more time that the usual Paneer recipes, as you need to make the Paneer tikka first which requires marination time, its not something that you can make at the last hour. It requires pre-planning but totally worth it to pamper yourself over the weekend, so go for it :).

You may have noticed that my posting frequency is dropping here, its just that I have my mind on too many things lately and largely preoccupied with them. Hopefully I can start to clear the pile on my wish list and I would be up in good spirits again and probably start a marathon blogging month soon to make up for the slow pace off-late!

Ingredients

Recipe Source - Monsoon Spice
Serves - 4
Spice Level - Moderate
Prep Time -  20 min + 1 hr marination time
Cook Time - 20 min

Paneer Tikka - 200 gms prepared , refer link to make paneer tikkas.
Ginger-Garlic Paste - 1 Tsp
Garam Masala - 1 tsp
Sugar - 1 Tsp
Kitchen King Masala - 1/2 Tsp
Tomato Paste - 1 tbsp
Kasoori Methi
2 Tbsp oil
Salt - as per taste

Paste 1

Onion - 1 Large, roughly chopped
Dry Red chilli - 2
Coriander Seeds - 1 Tbsp
Cumin Seeds - 1 Tsp

Paste 2

Tomato - 3 Large tomatoes
Cashews - 12


How do you do it

1. Grind the ingredients under paste 1 and paste 2 separately without adding water and keep them aside.

2. Heat oil in a pan. Add the onion paste and ginger-garlic paste for 5-7 minutes until the paste forms a lump , becomes a little dry and is cooked well. Make sure to cook it properly, if you do not saute the paste well, it will leave a bitter taste to the curry.

3. Now add the sugar, garam masala, Kitchen-King Masala, crush the kasoori methi between your palms and add it in, mix well and cook for a couple of minutes.

4. Add the tomato-cashew paste now and stir well. Simmer flame and close the lid and cook for 2 minutes.

5. Add the tomato paste, salt, 2 cups of water and mix well. Close the lid again and boil the curry in low-medium flame for about 10 min.

6. Add the prepared Paneer Tikka pieces into the curry and let it boil for another couple of minutes. Switch off flame.

Garnish with coriander leaves and serve this delicious Paneer curry with any Indian flat bread or Pulav of your choice.

Continue Reading >>

Wednesday, April 3, 2013

Beetroot Masala


There are a very few dishes that I make with beetroot, its not a popular vegetable in my kitchen though I would love for it to become one. I think it has to do with its sweet taste and sweet veggies never score with me. I normally make this easy and simple beetroot masala which is quite a good combination with curd rice, I pep up the spices really well so it negates the sweet flavor to an extent. So this recipe is for you if you have a similar story behind the beets or even otherwise ;).

Ingredients

Serves - 2
Spice Level - High
Prep Time - 15 min
Cook time - 15 min

Beetroot - 2 medium sized, peeled, chopped into tooth shaped pieces and pressure cooked
Onion - 1 , chopped well
Tomato - 2 , chopped well
Curry Leaves - 1 sprig
Ginger - Garlic paste - 1 Tsp
Masala [Curry/Chilli] Powder - 1 Tbsp
Turmeric - a pinch
Salt - as required
Cumin seeds - 1 Tsp
Mustard seeds - 1 Tsp
Hing/Asafoetida - a generous pinch
Oil - 1 Tbsp

How do you do it

1. After you pressure cook the beetroot , reserve any water that is left so it can be used in the gravy.

2. Heat a kadai with oil. Add the hing, mustard and cumin seeds. Let them pop/roast.

3. Add the onions and curry leaves, ginger-garlic paste and saute till the onions are cooked well.

4. Add the tomatoes now, some salt and turmeric and stir well. Close the kadai with a lid and on medium flame cook the tomatoes till they turn soft and mushy.

5. Add the masala powder now and mix well, add some reserved liquid from pressure cooking the beets. [not more than 1/2 cup]

6. Let the masala powder cook for a couple of minutes. Add the cooked beets now and mix well.

7. Simmer flame and let them cook slowly for about 10 minutes till the beets take in all the flavour. Add required salt in this stage.

8. Once the masala becomes thick, switch off flame.

Serve with curd rice for a very healthy and satisfying lunch :)

Continue Reading >>
Related Posts Plugin for WordPress, Blogger...

A la carte!

Along with idli/dosai (13) Along with rice (32) Along with rotis (21) asparagus (1) baby potatoes (4) bajji (1) baking (9) banana (1) basil (1) basmati (2) beans (1) beetroot (5) bhindi (3) biryani (1) Black eyed beans (2) blueberry (1) bok choy (1) bottle gourd (1) bread (3) breakfast (4) brinjal (4) brocolli (1) buttermilk (1) butternut-squash (1) cabbage (2) cakes (7) carrot (1) carrots (3) cashews (1) cauliflower (8) cheescake (2) chettinadu (24) chettinadu delicacy (23) Chicken (7) chilli (1) Chineese (3) chinese (1) chocolate (1) chole (2) chutney (6) coconut (5) coconut milk (1) coriander (4) corn (1) cow-peas (1) cream-cheese (2) curry leaves (1) dal (3) dates (1) desserts (14) diwali 2013 (1) dosai (1) drink (1) drumstick (2) dry field bean (1) Easy (44) egg (3) fenugreek (1) fish (1) Food and Travel review (1) garlic (9) ginger (1) gobi (1) green gram (1) How To (5) Indian Flat Breads (4) indian sweets (3) International (5) ivy gourd (2) jeera (3) kootu (1) kovakkai (1) lemon (3) lentils (11) lobia (1) malai (1) mango (2) masoor dal (1) Methi (2) mint (2) mix veg (9) mochai (1) moong dal (4) mushroom (10) mutton (1) non-veg (2) onion (2) orange (1) paneer (11) parathas (1) pasta (2) peas (7) pepper (1) pickles (1) plantain (1) poriyal (1) potato (14) potatoes (2) quinoa (1) Rajma (1) rasam (1) rice flour (1) rosemary (2) shallots (1) snack (18) soup (7) soy chunks (1) spinach (6) stir-fry (1) strawberry (1) sweet potatoes (1) tamarind (5) tomato (7) toor dal (1) val bean (1) Variety Rice (13) walnut (1) wheat (2) yoghurt (1) yuuum!! (1) zucchini (2)

Latest on Food Over IP

Copyrights

All rights reserved @2012.

Unless otherwise mentioned, the text and images included in FoodOverIP blog belongs to the author. The blog author’s permission is required before any content is reproduced in any form.

  © Blogger templates The Professional Template by Ourblogtemplates.com 2008

Back to TOP  

Blogging tips